In today’s internet-driven economy, the appearance and performance of an organization’s website is a crucial factor that will determine its ability to attract and retain visitors. Therefore, as a web designer, you must make the components of the website fully responsive. This free online course will show you how to tweak many features for your websites to make them fully responsive for your users.
You’ll learn how to build a website from scratch using CSS flexbox and CSS grid. The CSS flexbox responsive navbar is built with mobile users in mind. This is why one of the objectives of this course is to break down the complex structure of building a website and make it mobile-friendly. You will learn how to set up the index file, write the java scripts and form the web structure. We’ll show you how to create the index.html file and open up loops on where to build the main structure of the website. The arrangement of the structures determines the webpage, and the designer defines what the output looks like. This course will teach you the styling of the webpage. You will learn how to generate the background colours on the webpage. We’ll also show you how to arrange items and do the sizing on the page. The course also covers how to mix up fitting colours for the webpage background from some websites and how to set up fonts and their sizes. We’ll show you how to eliminate unwanted default stylings and how to build a responsive navigation function. By the end of this course, you should also know how to create a toggle for expanding the hidden items in the navigation menu for a smaller screen and how to make it clickable. Aside from the main menu, you will also learn how to create a submenu and how to minimize and open it up. You can always make every adjustment needed on the webpage by altering the scripts written as the codes used are dynamic.
Next, you will build a CSS grid-based website. We’ll show you how to set up the basic structure of the CSS grid and how to create and save the stylesheet. In addition, we’ll show you how to create a webpage from the HTML page. You’ll learn how to create the header, the main content, the left side, the right side, and the footer depending on the choice of the webpage design. Having reached this point, we’ll show you how to set up and do the styling of the main page structure. Like the Java scripts, the course also covers how to build a responsive navigation bar. You will learn to create the outlook of the webpage when it shrinks or expands and to set up the grid structure. We’ll demonstrate how to populate content within the web page and apply some styling to update the content’s structure. Sign up now to take your web design skills to the next level!
What You Will Learn In This Free Course
View All Learning Outcomes View Less All Alison courses are free to enrol, study, and complete. To successfully complete this Certificate course and become an Alison Graduate, you need to achieve 80% or higher in each course assessment.
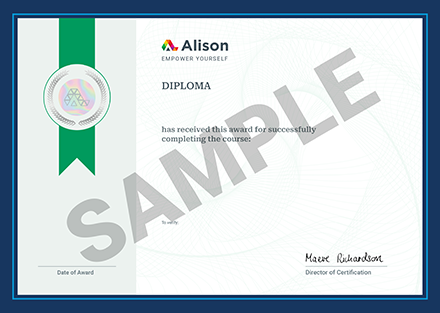
Once you have completed this Certificate course, you have the option to acquire an official Certificate, which is a great way to share your achievement with the world.
Your Alison certificate is:
- Ideal for sharing with potential employers.
- Great for your CV, professional social media profiles, and job applications.
- An indication of your commitment to continuously learn, upskill, and achieve high results.
- An incentive for you to continue empowering yourself through lifelong learning.
Alison offers 2 types of Certificate for completed Certificate courses:
- Digital Certificate: a downloadable Certificate in PDF format immediately available to you when you complete your purchase.
- Physical Certificate: a physical version of your officially branded and security-marked Certificate
All Certificate are available to purchase through the Alison Shop. For more information on purchasing Alison Certificate, please visit our FAQs. If you decide not to purchase your Alison Certificate, you can still demonstrate your achievement by sharing your Learner Record or Learner Achievement Verification, both of which are accessible from your Account Settings.


 Avg. Hours
  Contains Video
  CPD Accredited
 Total XP:
 Knowledge & Skills You Will Learn


